If you’ve heard of a victory garden before and wanted to grow one, here you’ll find tips and tricks to help guide you. If you’ve never head of a victory garden but are interested in learning more, you’ve come to the right place!
How They Started
Victory gardens started years ago right before the United States entered into World War l. A man named George Washington Carver encouraged the use of victory gardens. Along with an agricultural tract that promoted this idea, there was use of Rationing Stamps as well as Cards! As a result, less pressure was placed on the public food supply.
Families on the Home Front planted victory gardens in hopes of helping with the war effort during WWl. They helped prevent shortages of food as well as helped provide our soldiers who were fighting around the world with enough food!
Food from America was exported to Europe in order to help feed our allies that also faced the same shortages of food.
It used to be seen as a patriotic act to have a home garden. Because of this, along with the benefits, victory gardens made a comeback when we entered into World War 2 as well!
Is it reminding you of a community garden nowadays? Me too!
Why You Should Plant A Victory Garden
During uncertain times like today during the Covid-19 pandemic, the idea of a victory garden appeals both financially and economically.
There are many benefits that come with growing your own victory garden:
- Growing your own food can save you money
- It is great for the environment!
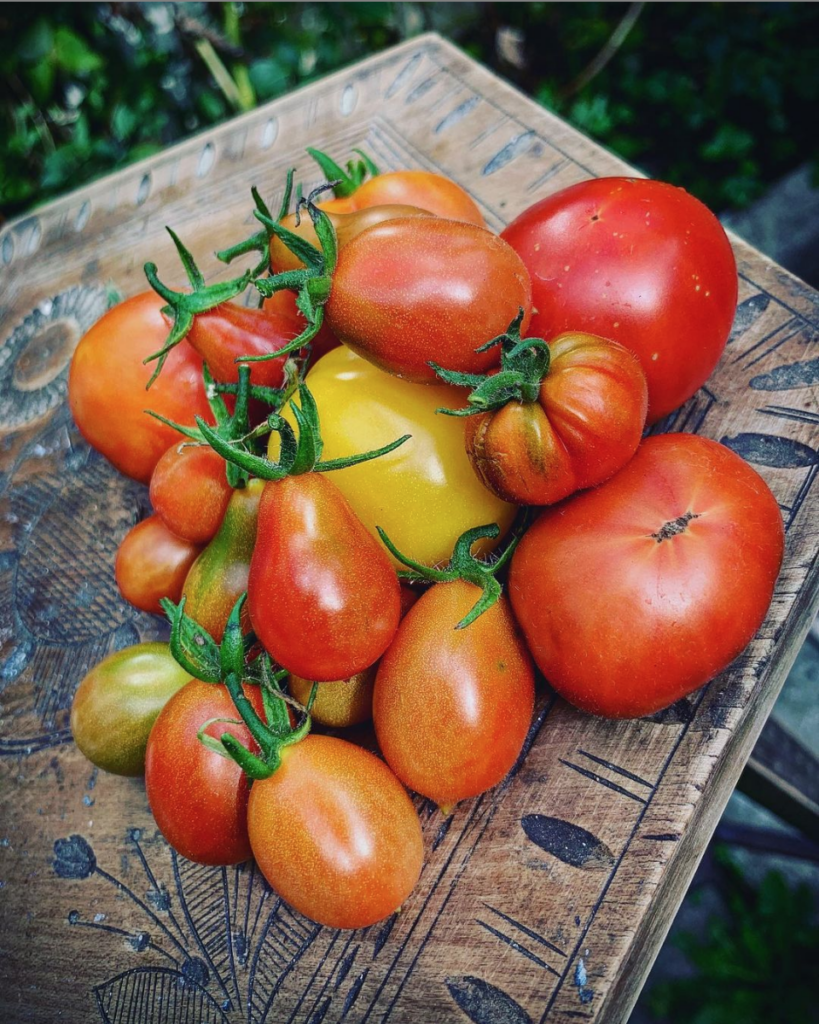
- Fresh food is by far the best
- Growing your own food encourages healthy eating habits
- Growing your own food is not only beneficial to your overall nutrition, but also your physical health as well as your mental clarity
- Knowing that availability of a certain portion of your food is in your hands can help you feel more secure in these uncertain times
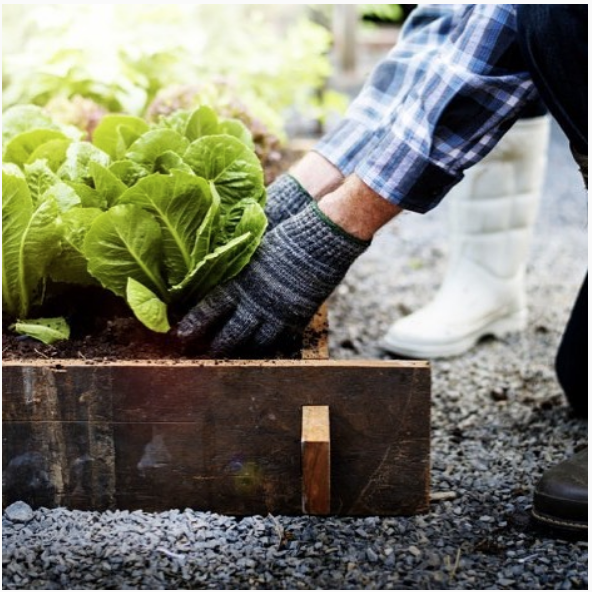
How To Plant One?
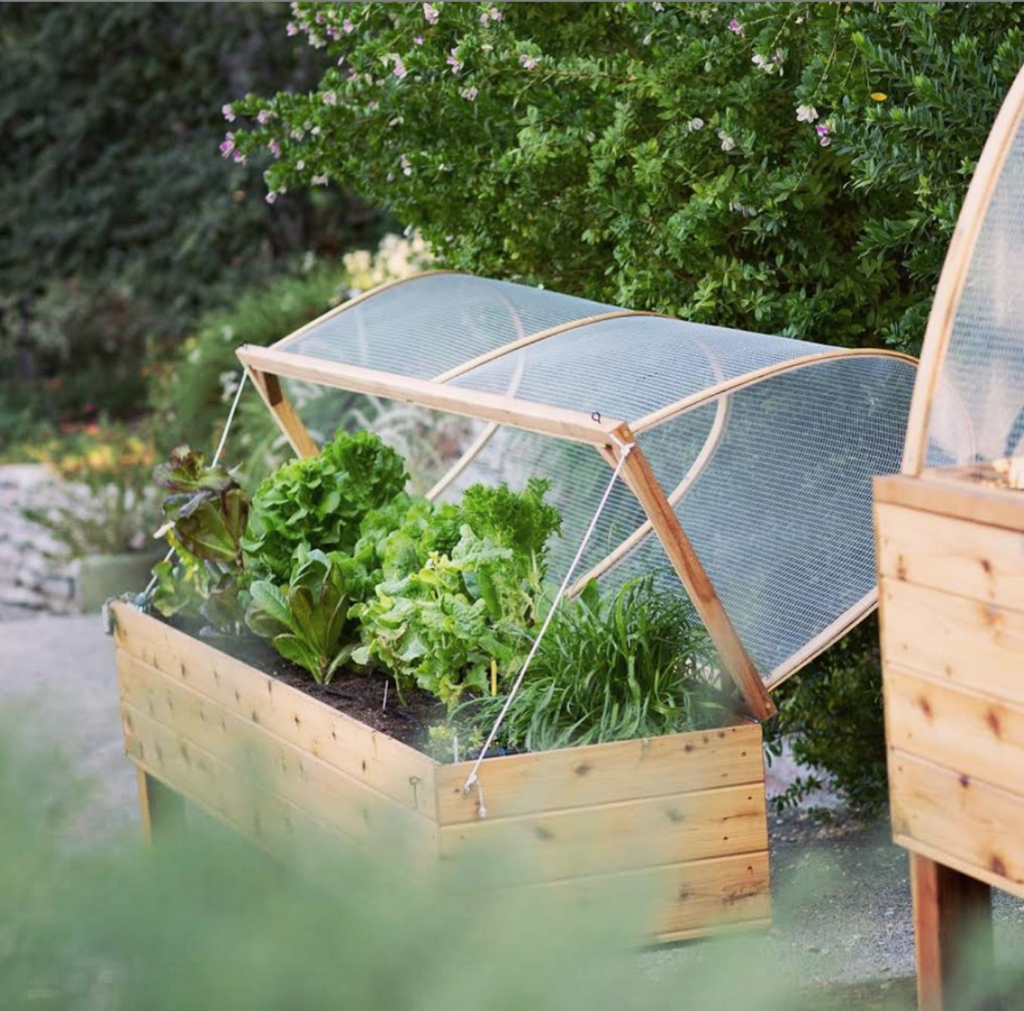
Planting your own victory garden isn’t hard at all! You just have to remember that plants are living things. They will need the essential nutrients such as light, warmth, nutrients, water, shelter, growing supports, and protection from predators and disease. Sound daunting? Don’t sweat. It’s extremely easy.
Fruits and vegetables are just like animals. Some of them grow in the tropics, and others can live in more temperate climates. If you don’t live in that environment, it’s easy to fake it by growing your crops in a greenhouse or hydroponically.
When starting your victory garden, do your research and plan ahead. When researching, choose veggies that are resistant to diseases that are unique to where you live. If at all possible you should plant it in the fall. If you can’t, don’t worry.
Use good compost when preparing your garden!
If you are starting your victory garden outside, make sure that you have some sort of barrier between your garden and the veggie-loving animals. Protect your goods!
You are a natural and your garden will for sure thrive. When you plan ahead, you need to decide how you will preserve and store your yield!
Seeds From The Kitchen Cupboard
If you are unable to find seeds online you can always try your local garden center. In the midst of all of these craziness with a pandemic, I haven’t noticed any shortage in seeds! If you choose to forgo these options, you can utilize the seeds from your kitchen cupboard!
Believe it or not, some of the foods in your cupboard are also seeds. You can use the beans in soup mixes. The same can be said for chickpeas, dried peas, as well as many grains! If you live in a suitable climate for brown rice, it too will germinate and grow!
Want to know something even crazier? Many spices are also seeds, and some of them will germinate! An example of some that can be used are:
- Coriander
- Cilantro
- Chili seeds
- Dill
A good rule of thumb is that if the spice looks like it may be a seed, try to see if they’ll grow! All that you have to do is sprinkle a quarter teaspoon of seeds between two damp paper towels. Remember to keep them moist and warm. Check on your seeds daily for up to two weeks for little sprouts!
1 Month Crops
If you are impatient like me, planting crops that are ready to eat within one month of sowing can be a great way to go. However, there are few crops that are ready to eat within that time frame. Here are the few that are:
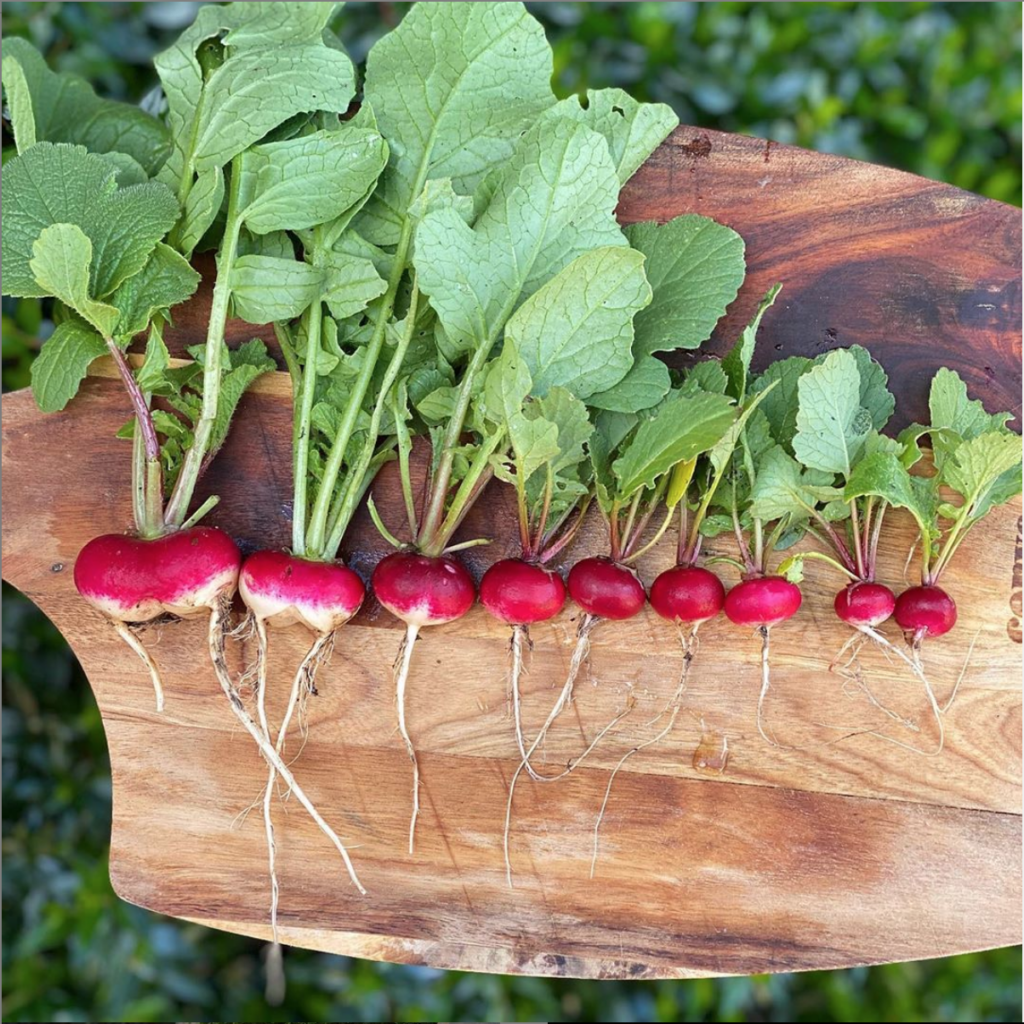
- Radishes
- Baby salad greens
- Sprouted seeds
When growing radishes, sow the seed 1/8th of a teaspoon seeds weekly. This will provide you with a regular supply. Radishes typically grow the best during the spring and the fall. During the summer months they have a tendency to bolt. Bolting means that they become stressed and flower.
Typically, most greens need about 45 days to mature. However, if you choose to, you can eat their small baby leaves after only a month. These greens include:
- Lettuce
- Spinach
- Arugula
- Beet leaves
- Chard
- A few others
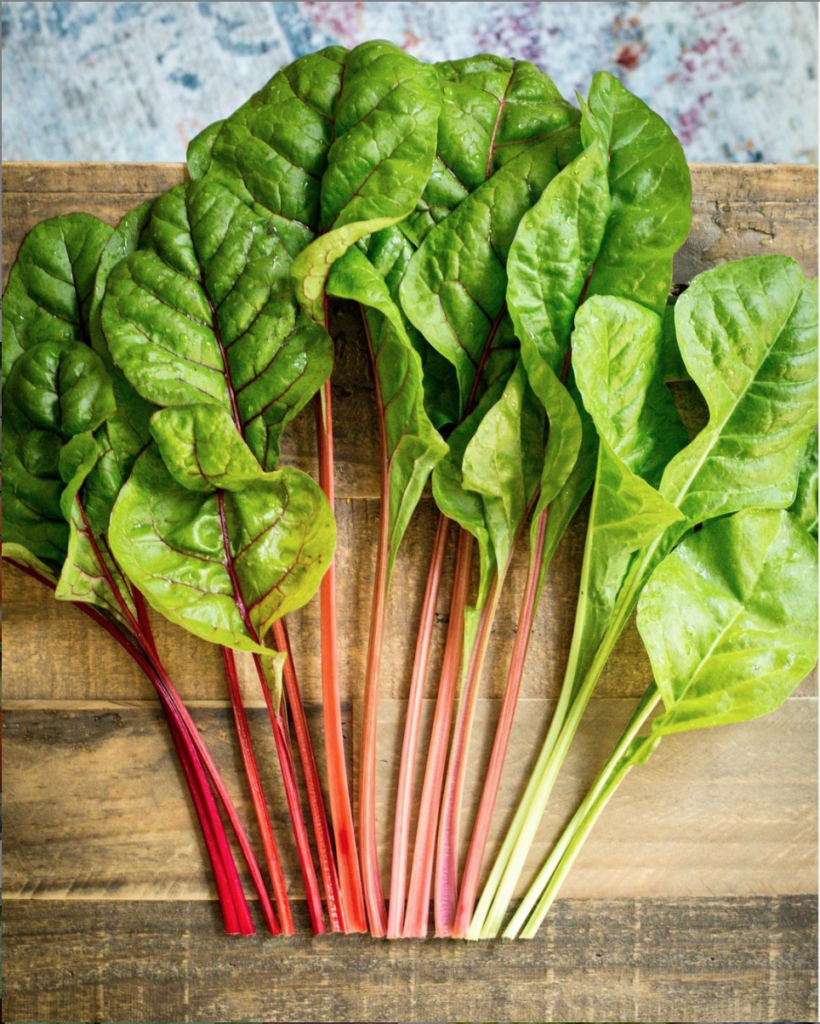
If you can eat the leaf of a vegetable when it is fully grown, what is keeping you from eating them when they are baby leaves? The answer is nothing!
2 Month Crops
Now, if you have 45 to 60 days, there are more vegetables to choose from. Primarily, these include greens. But, you’ll be able to have smaller root vegetables and peas. One trick when it comes to these crops is to refine your search when looking for seeds. Look for the varieties that are advertised as “quick-growing” or “quick-maturing” varieties. Examples of these are:
- Baby carrots
- Lettuces
- Leafy herbs
- Okra (60-70 days)
- Some varieties of broccoli
- Some varieties of cabbage
- Kale
- Mizuna
- Radishes
- Spring onions
- Spinach
- Swiss Chard
- Kohlrabi (60-70 days)
- Mustard
- Peas (60-70 days)
- Turnips

3 Month Crops
Three months is by far plenty of time for a lot of other delicious vegetables to mature. This amount of time is best to grow any vegetable that has big roots or fruits. Examples of this are foods such as tomatoes, early potatoes, and summer squash. The majority of vegetables will need 16 weeks if you have a cool climate or if the variety you chose grows slowly. Examples of these are:
- Beets
- Broccoli
- Beans
- Cabbage
- Carrots
- Cauliflower
- Early Potatoes
- Second Early Potatoes
- Eggplant
- Kohlrabi
- Onions
- Summer squash, including zucchini
- Tomatoes
If there is a vegetable that isn’t listed above, it can very well be one that takes a longer time to develop. Examples of these are:
- Main crop potatoes
- Garlic
- Purple sprouting broccoli
- Pumpkins
- Chilis
- Sweet potatoes
- Parsnips
- Leeks
It’s important to plan, plan, plan, when it comes to growing your year-round vegetable garden. Your plant babies need space and time! Come fall and winter, you’ll be able to enjoy your homegrown harvest!
Tips And Tricks
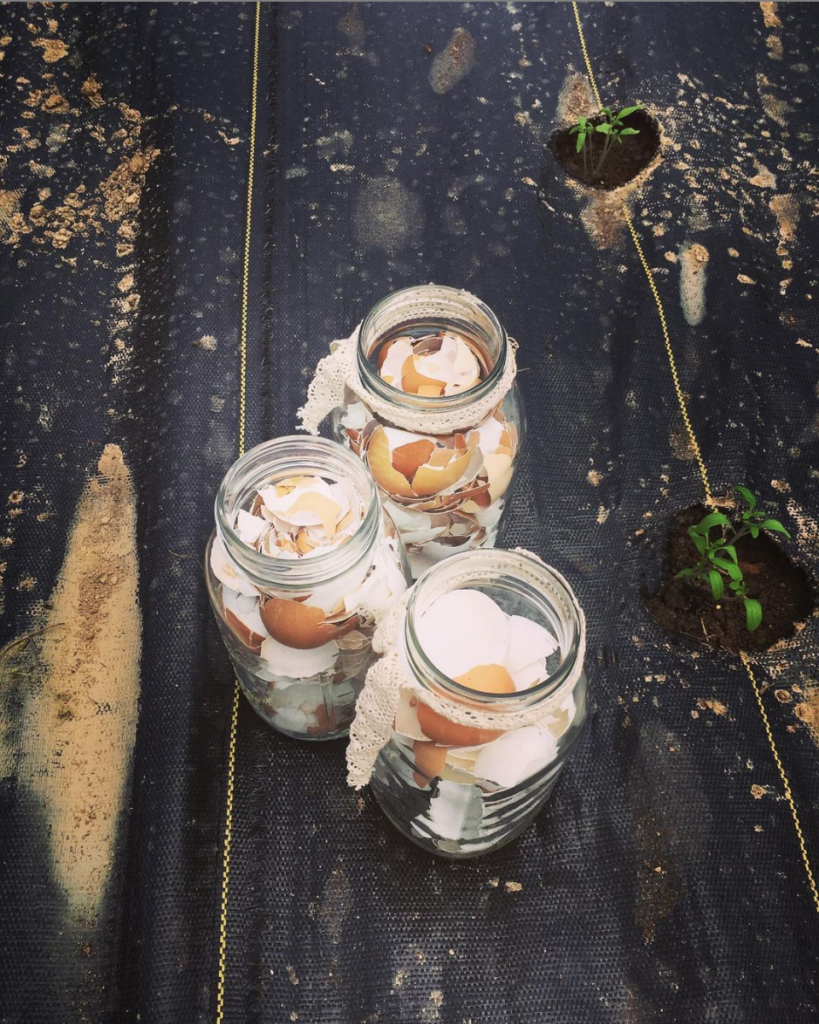
Don’t throw away your eggshells! Instead, crush them and add them to your garden. As the eggshells decompose they will enrich the soil as well as moderate the acidity of your soil while providing nutrients for your plants. Crushed eggshells will slowly and steadily release calcium as they decompose!
Run out of miracle grow? Make your own at home! Here’s what you’ll need:
- 1 gallon of water.
- 1 tbsp epsom salt.
- 1 tsp baking soda.
- 1/2 tsp of Household ammonia.
Mix together all of the following ingredients, making sure that everything is dissolved!
It’s ok if you have zero experience. We all have to start somewhere!
You should also familiarize yourself with your gardening zone, and which crops grow best in it.
There is no size limit when starting your own victory garden! If you want to start a container victory garden in your apartment, or some sort of victory garden on your patio, go for it!
Common Victory Gardening Questions:
Q: How big is a victory garden? A: A victory garden doesn’t have to be a specific size. It can be as big or as small as you choose to make it.
Q: How to do you make a victory garden? A: First you need to choose what sort of plants you want to grow. What will you utilize the most? Once you’ve figured that out it’s easy. Make sure you have the correct soil for growing your fruits, veggies, etc., and follow the instructions on the seed packet!
Leave a Reply